
How to Fix a Refrigerator: What You Can Safely Check Yourself, and What a Real Repair Takes
Five checks any homeowner can do in 20 minutes, and five real Tampa repairs that show what happens after that
Quick Answer
- Do these yourself
- Check the thermostat setting, clean the condenser coils, test the door gasket with a sheet of paper, clear the vents inside, and check that the defrost drain is not blocked. These solve a real share of cooling complaints and need no tools beyond a vacuum.
- Stop here if
- The compressor clicks and shuts off, the back wall of the freezer is covered in frost, there is an error code, or the problem is inside a panel that needs screws to open.
- Why
- Behind the panels are live wiring, electronic boards, defrost heaters and a sealed refrigerant system. Opening the sealed system legally requires EPA Section 608 certification, and most new refrigerators use R-600a, a flammable refrigerant.
- What a pro costs
- Our five Tampa refrigerator jobs below ran $332 to $989. The service call is free with any repair.
Searching for how to fix a refrigerator usually means it is warm, leaking, frosting or making a noise. Some of that is a 20-minute fix you can do yourself. Most of it is not. Below are the safe checks first, then what the real repairs looked like on five refrigerators we fixed in Tampa, with part numbers, visits and invoices, so you can judge honestly where your skills end.
Refrigerator warm, leaking or noisy? Tell us the brand and what it does
We call back within 15 minutes – 8 AM to 7 PM on weekdays and 8 AM to 6 PM on weekends
Before You Touch Anything: Safety
- Unplug the refrigerator or switch off its breaker before removing any panel. Fans, heaters and boards behind the panels run on household current.
- Electronic and inverter boards can hold a charge for a while after unplugging. Do not touch board components.
- Shut off the water supply to the ice maker before touching any water line. A loose line can flood a floor in minutes.
- Do not move a refrigerator alone; tipping a full one injures people and damages floors and water lines.
- Never open, cut or puncture refrigerant tubing. Sealed-system work requires EPA Section 608 certification, and R-600a (isobutane) in many new refrigerators is flammable.
5 Checks You Can Do Yourself
1. Check the settings
Fresh food should sit at 37–40°F and the freezer at 0°F. A thermostat bumped during cleaning, or a control set to a showroom or demo mode, makes a healthy refrigerator look broken.
2. Clean the condenser coils
Unplug the refrigerator, find the coils at the back or behind the bottom grille, and vacuum them with a brush attachment. In Florida heat, dusty coils make the compressor run longer and harder. Doing this every six months is the cheapest repair there is.
3. Test the door gasket
Close the door on a sheet of paper and pull. If it slides out easily, the seal leaks warm, humid air, which causes frost, condensation and nonstop running.
4. Clear the vents inside
Food packed against the air vents between the freezer and the fresh food section blocks the cold air. Move it and give the refrigerator a day.
5. Look at the defrost drain
Water pooling under the crisper drawers usually means the defrost drain is clogged. Flushing it with warm water is often possible, but on many models the drain sits behind a panel.
If none of this helps within 24 hours, the cause is behind a panel. Here is what that looked like on real jobs.
What the Real Repairs Looked Like: 5 Tampa Refrigerators
-
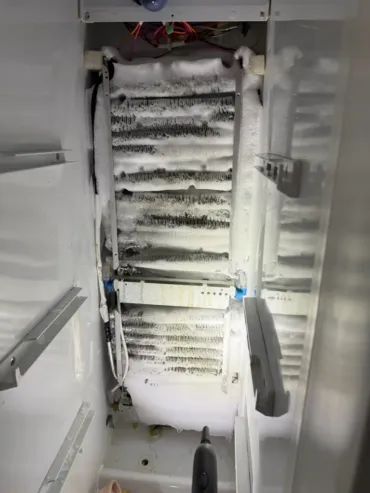
GE Profile: the freezer was a block of ice
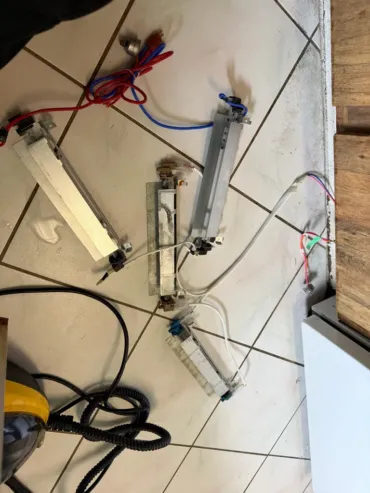
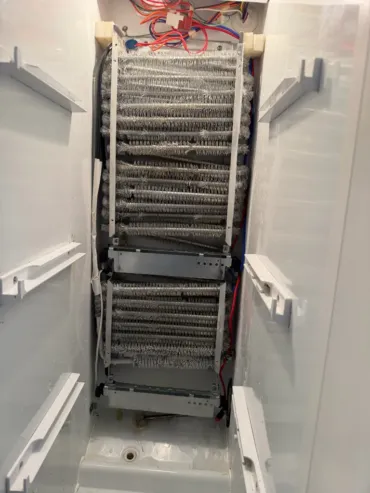
The refrigerator was over 15 years old. Two defrost heaters had shorted and taken out the defrost thermostat and the timer with them, so the evaporator coil iced over completely. The fix was a complete defrost system assembly ($279), with the panels off, the coil defrosted and the wiring checked: $479 total, same day. A DIY attempt usually replaces one part, and the shorted heater burns the new one.
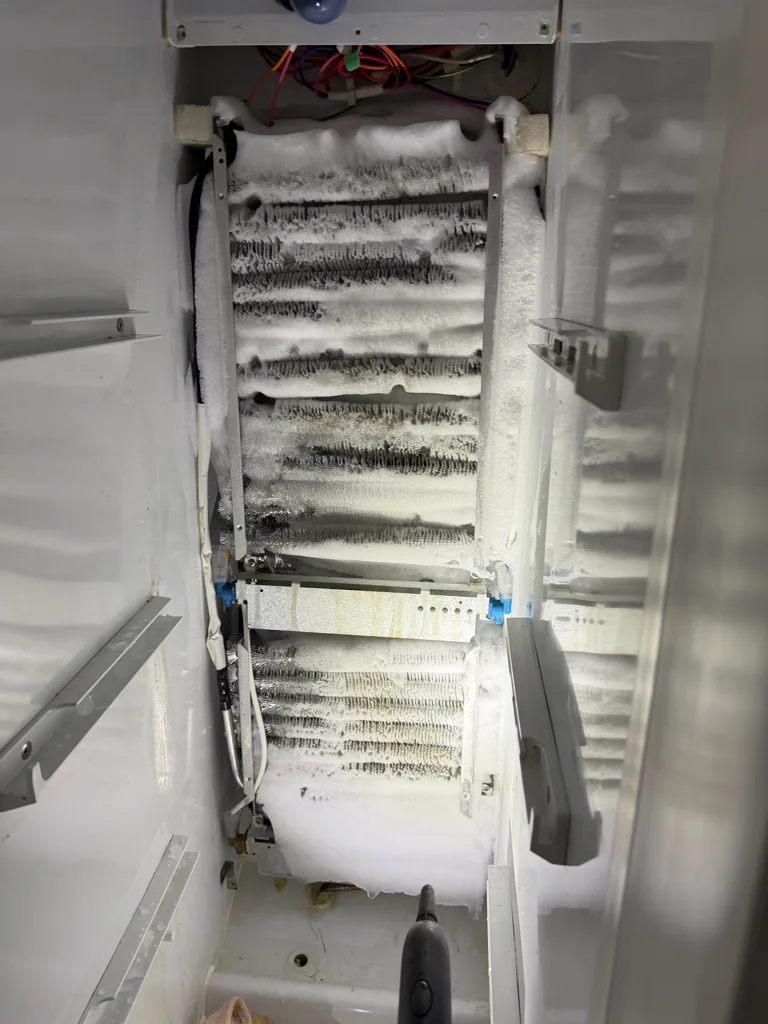
The evaporator coil, frozen solid. 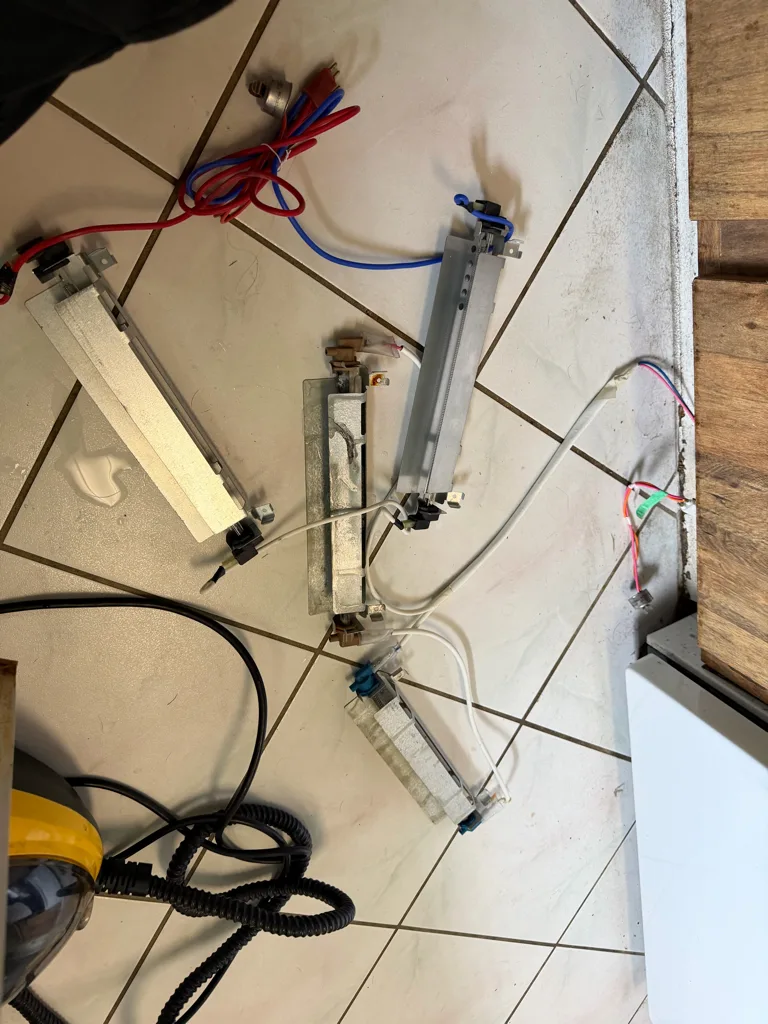
The shorted defrost heaters. 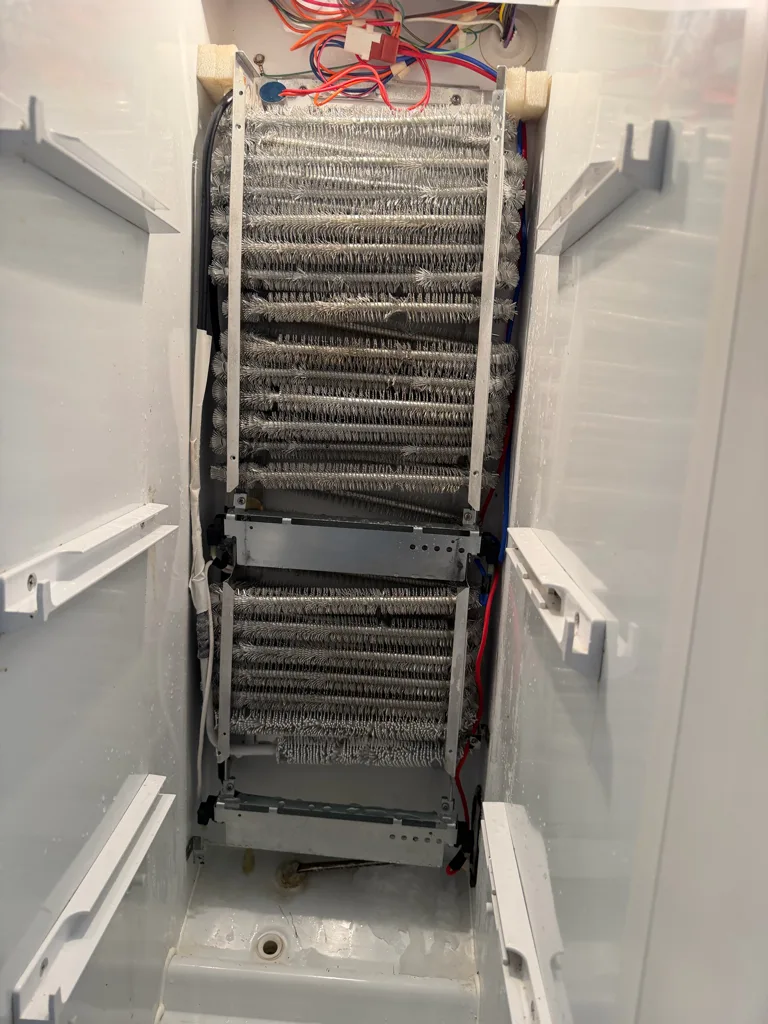
After the repair. -
Kenmore: the compressor ran but did not cool
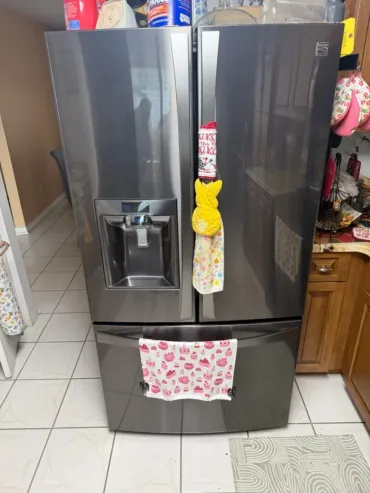
The compressor ran but built no refrigerant pressure. The repair meant a new compressor and filter drier (TCA38091801, $589), brazing, evacuating and recharging the sealed system: $989 total over two visits. This is the job that requires EPA certification and refrigerant recovery equipment. There is no DIY version.
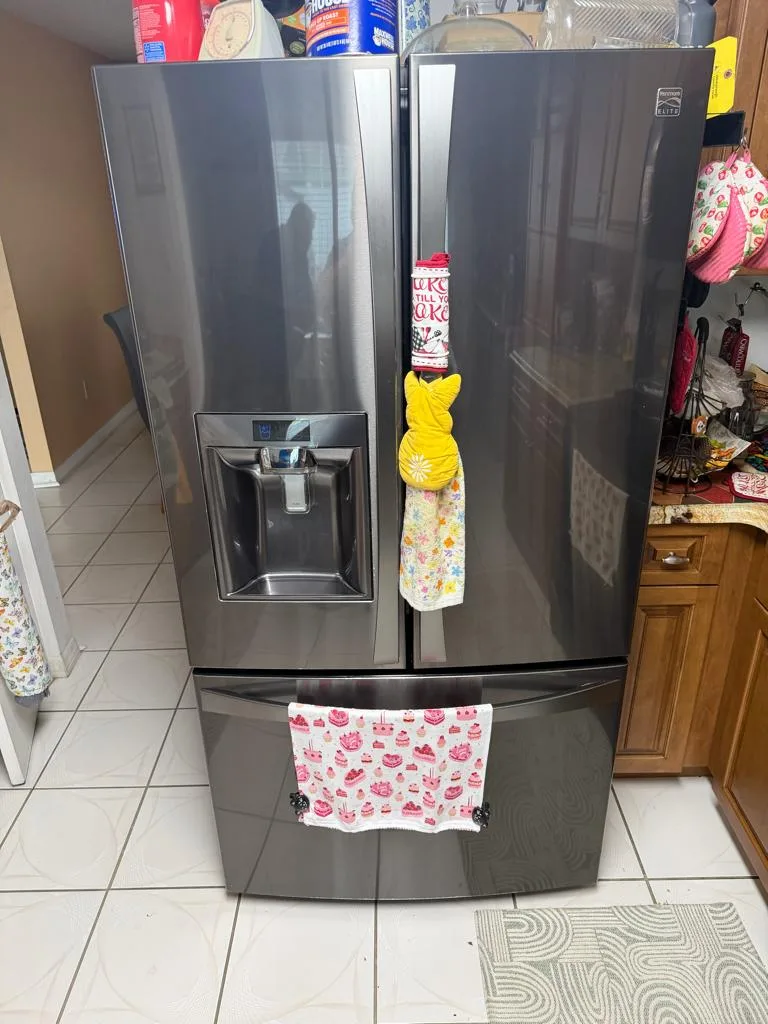
Kenmore 795.73167.610, Nashville Dr. 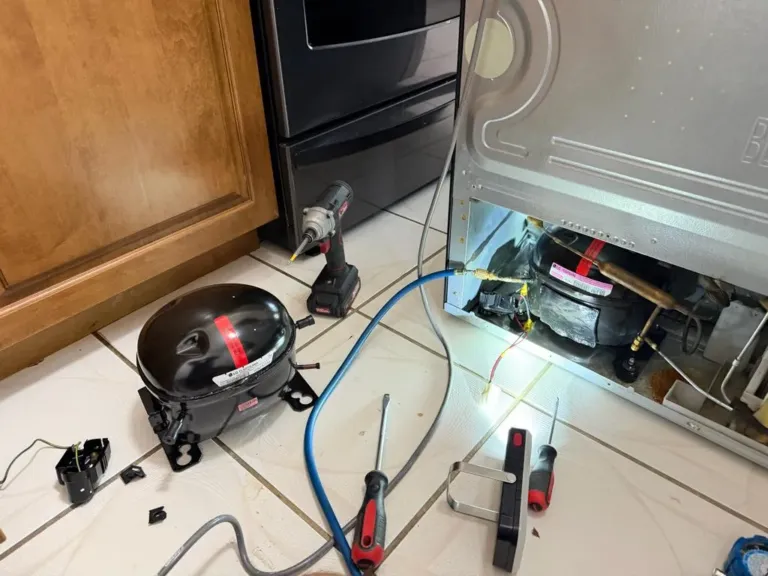
The old compressor, removed. -
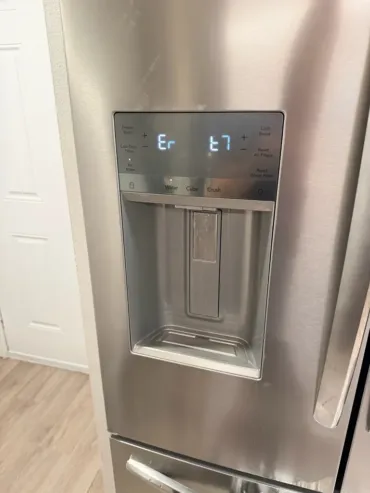
Frigidaire: error ER TC and an ice maker that quit
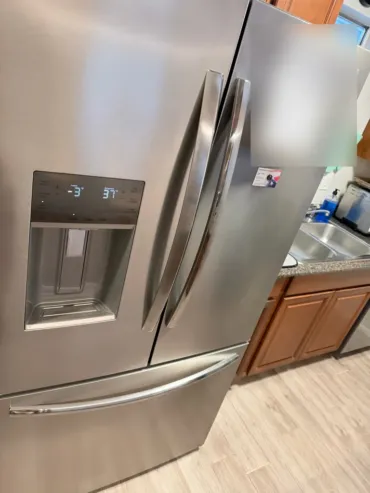
The ice maker and its wiring harness had been torn off. The right parts were model-specific (ice maker 243297608 and harness 140134075039, $189 together) and took three days to arrive: $369 total, two visits. Ordering by guesswork is where DIY money goes.
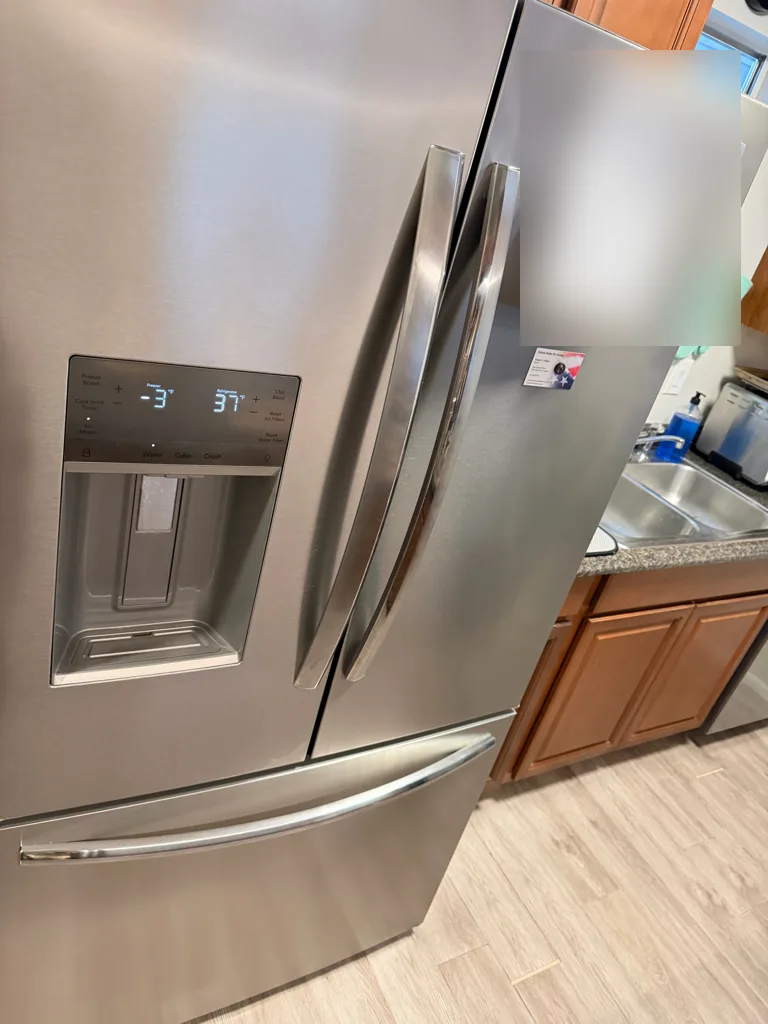
Frigidaire GRFS2853AF2, Congressional Dr. 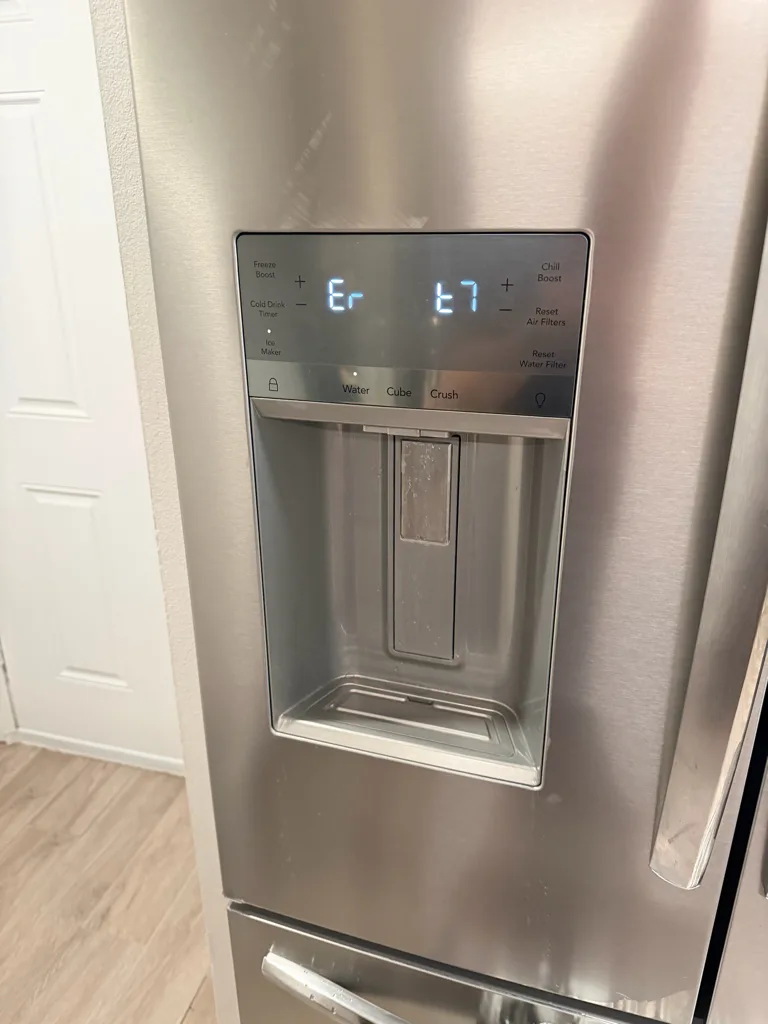
Error code ER TC. -
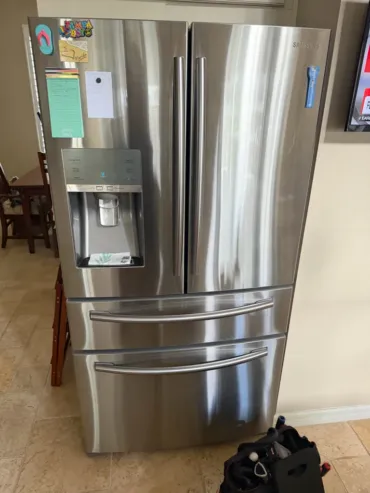
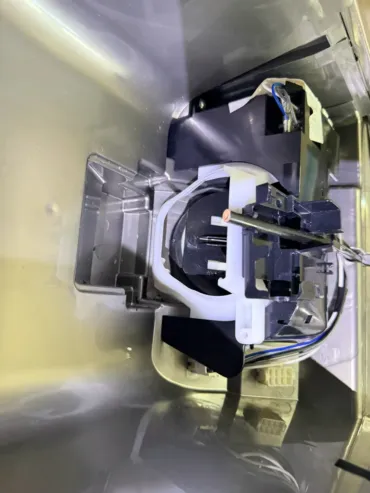
Samsung: water running from the dispenser
The ice chute flap and its seal had failed, so water ran out of the dispenser. The dispenser assembly (DA97-13829C, $152) was replaced the same day: $332 total.
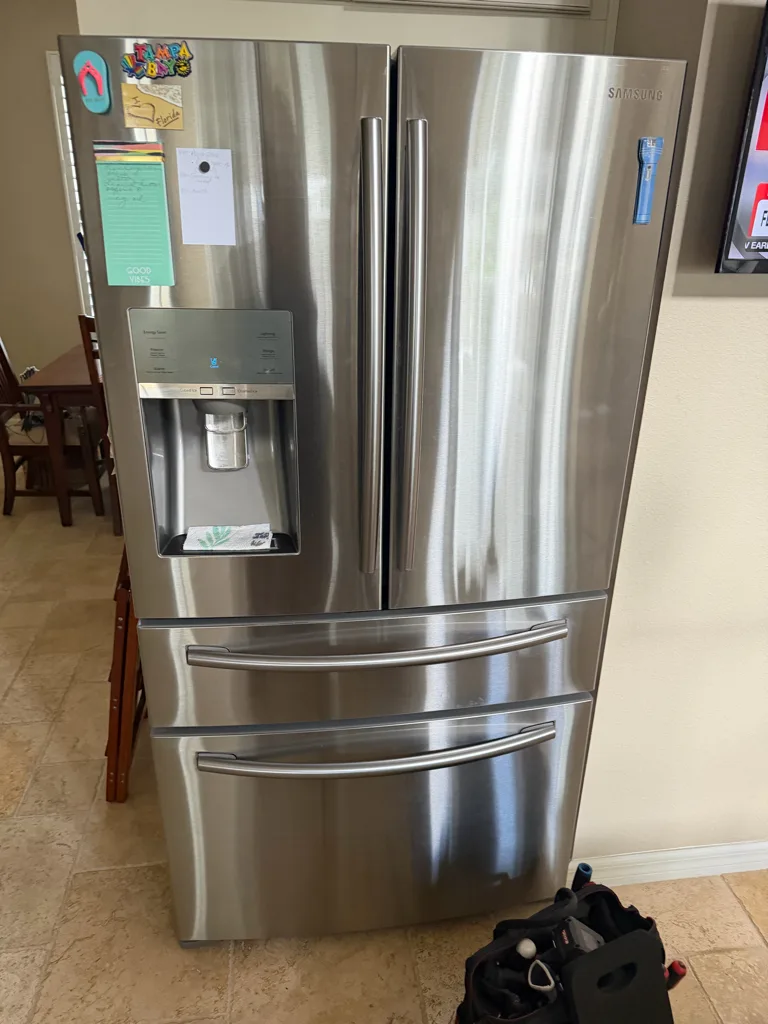
Samsung RF24FSEDBSR, Clementine Ln. 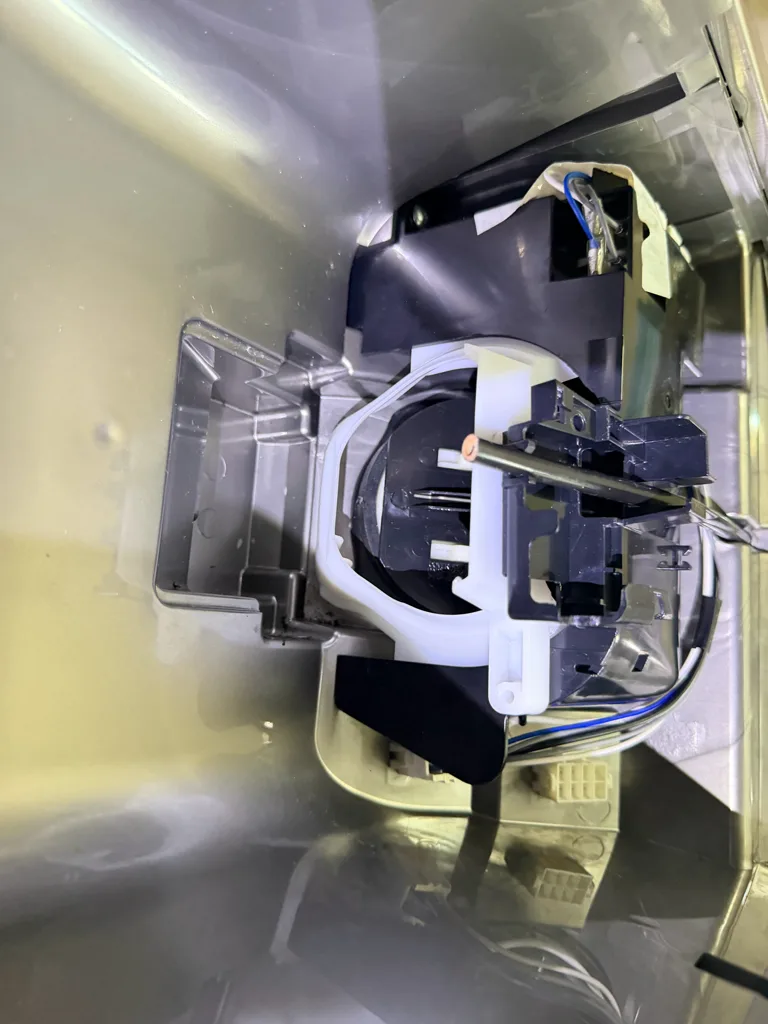
Frost in the ice compartment. -
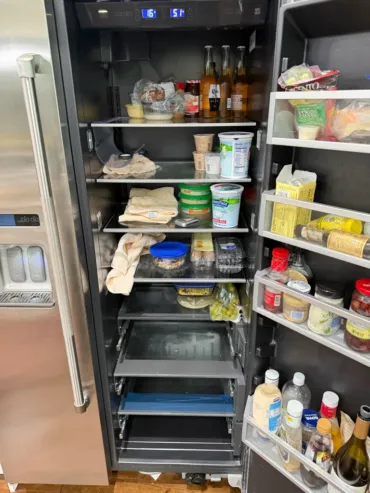
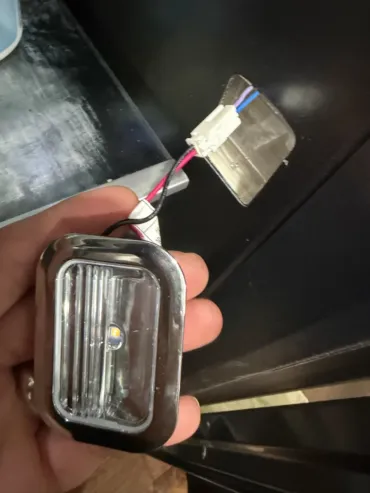
JennAir: all the interior lights went out
It looked like bulbs. It was the LED light module at the start of the lighting circuit (W11683242, $162), which had to be ordered: $332 total, two visits.
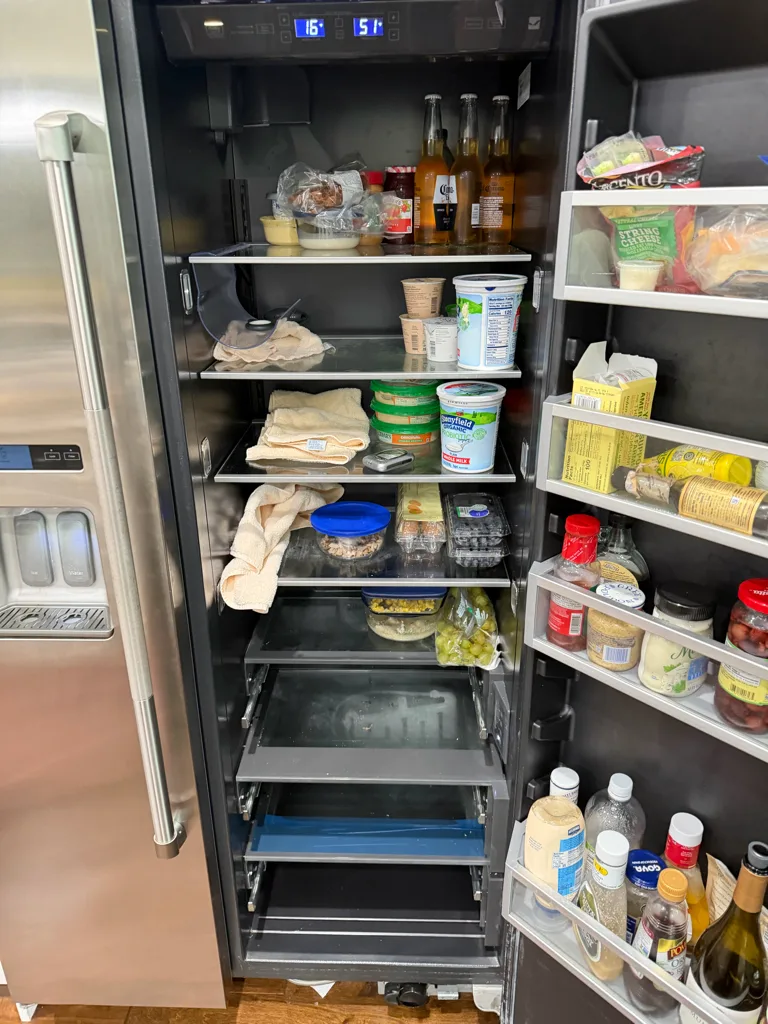
JennAir, W Beach Park Dr. 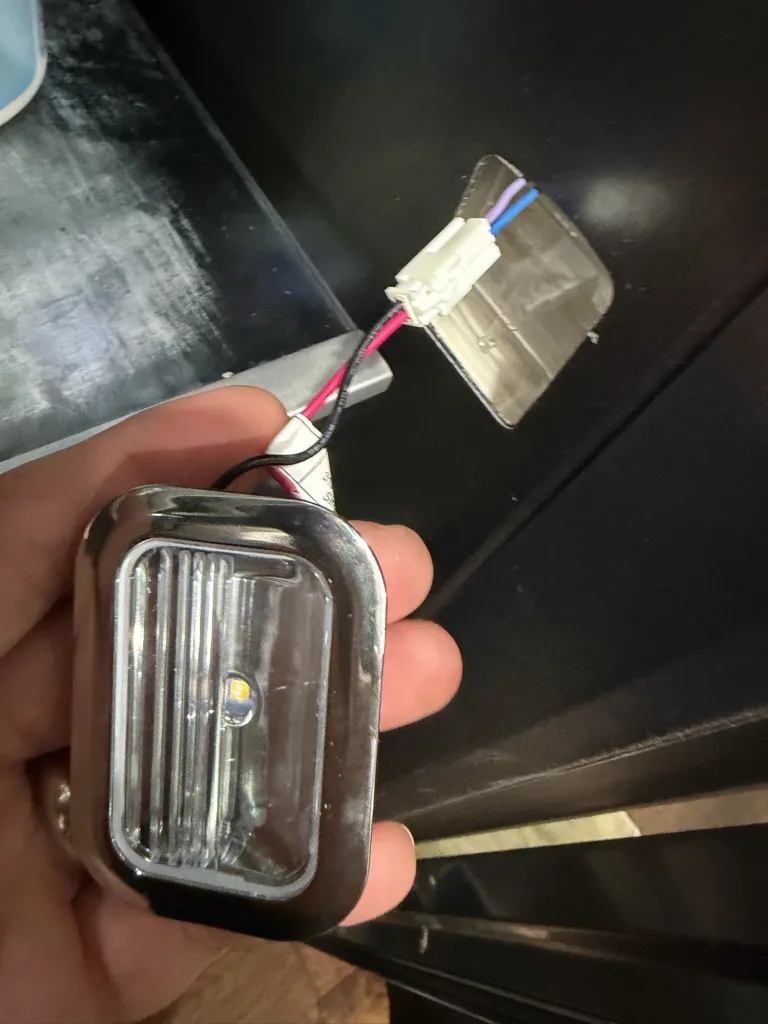
The LED light module.
All five jobs are written up in full on our Tampa refrigerator repair page.
Where DIY Refrigerator Repair Goes Wrong
- Replacing the part that failed second. On the GE Profile, the heaters killed the thermostat and timer; replacing only one leaves the fault in place.
- Ordering the wrong part. Refrigerator parts are model- and revision-specific, and a wrong electrical part is often not returnable.
- Breaking plastic clips and liners while removing panels; on built-in units they are expensive and slow to source.
- Flooding the kitchen from a water line that was not fully reconnected.
- Touching a board that still holds a charge, or running the refrigerator with a panel off and a wire pinched.
- Calling a technician anyway after spending on parts, which costs more than calling first.
A technician tests before replacing: heaters for continuity, the thermostat and timer, fan motors, the board outputs and the system pressures. That is why the GE Profile was fixed in one visit.
Refrigerator still not right after the safe checks?
Same-day calls across Tampa, Clearwater, St. Petersburg, Sarasota and Bradenton, 8 AM to 7 PM on weekdays and 8 AM to 6 PM on weekends. The service call is free with any repair, and repairs carry a 90-day warranty.
Fixing a Refrigerator: Questions We Get
Can I fix my refrigerator myself?
You can safely check the settings, clean the condenser coils, test the door gasket, clear the vents and look at the defrost drain. Anything behind a panel, electrical work, or anything touching the refrigerant should go to a technician.
Why is my refrigerator not cooling but the freezer is?
Often a defrost failure or a stopped evaporator fan, both behind the freezer panel. On a Tampa GE Profile, shorted defrost heaters had iced the coil solid.
Can I recharge refrigerant myself?
No. Opening the sealed system requires EPA Section 608 certification and recovery equipment, and many new refrigerators use flammable R-600a.
How much does refrigerator repair cost in Tampa?
Our five Tampa jobs on this page ran $332 to $989, parts and labor. You get the price before any work begins, and the service call is free with any repair.
Is my old refrigerator worth fixing?
Often yes. The GE Profile above was over 15 years old and was repaired for $479 instead of replaced. Our repair-or-replace calculator shows the dollar limit.

Andrew Teodor — Owner of Teodor Appliance Repair, with offices in Tampa, Bradenton, Clearwater, Sarasota and St. Petersburg. Every repair on this page comes from our own service records.
$25 OFF
with Online Application